
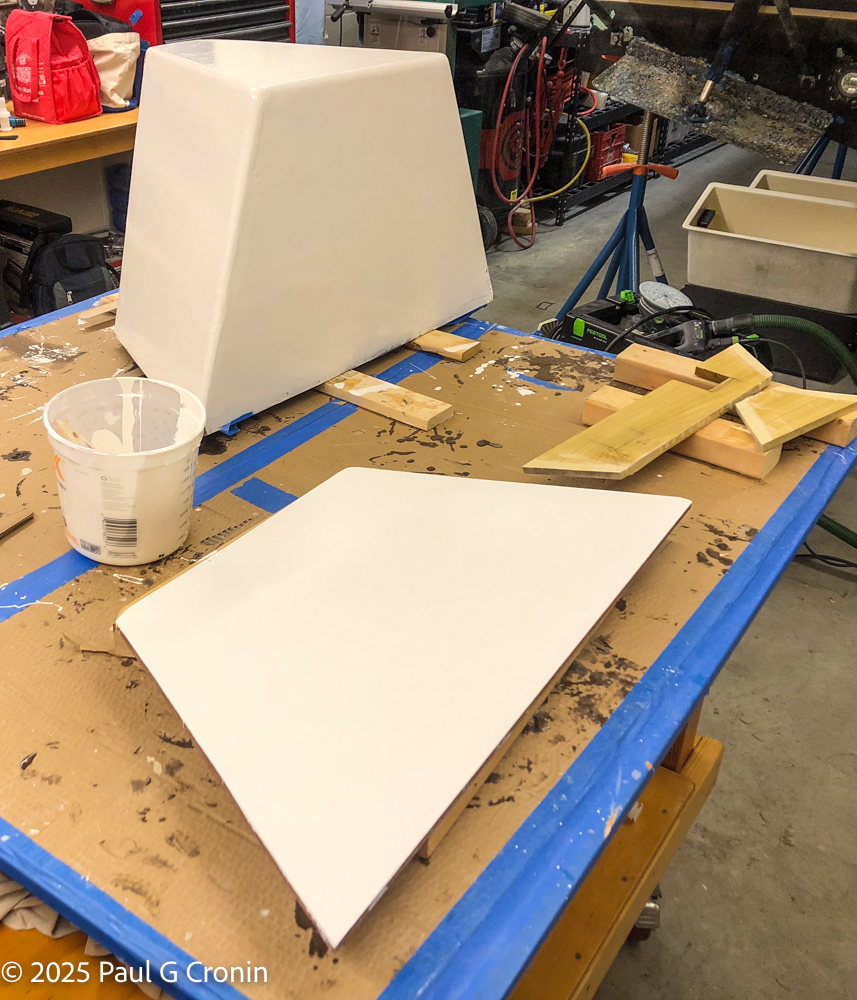
Build and Install Head Fresh Water Tank
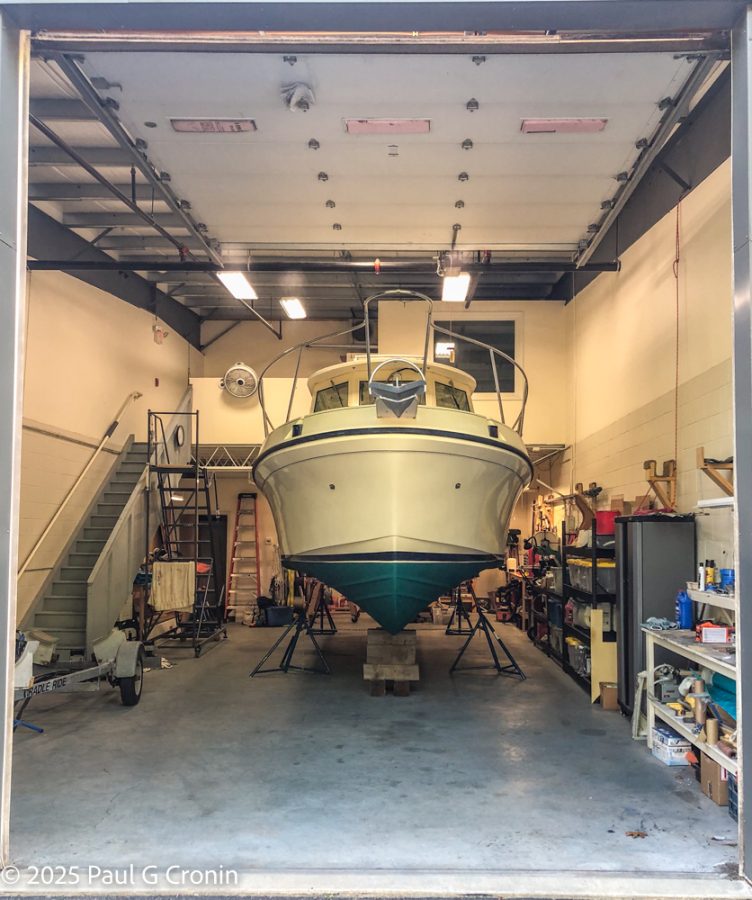
When we purchased Felix 2000 Albin 28 TE, the previous owner had changed the head to fresh water, and electric macerator flush. This is the first boat we have owned that has electric, and fresh water head.
We are not as concerned about weight as on our past race boats, so adding a second fresh water tank is not a problem. Felix handles the load we put on him well, and the difference in fuel between loaded and unloaded is minimal.
Inspecting the head this past winter I noticed the check valve for the fresh water was not in great shape. Also it was coming from the main water tank which is not a good idea. The main water tank is 32-36 gallons depending on who you ask. That is sufficient for our use, but I did not want it to get contaminated with head waste if the check valve failed.
So, I went about checking for the best location to add the tank. Trying to keep the run to the head short. And keep it easy to fill with two extra five gallon fresh water can’s we carry.
After building a couple of mockups in cardboard, I found the best location to be forward under the Vee-berth. Stock plastic tanks would not make good use of the volume and location. So I would just build one to my specifications, with materials already in the shop.
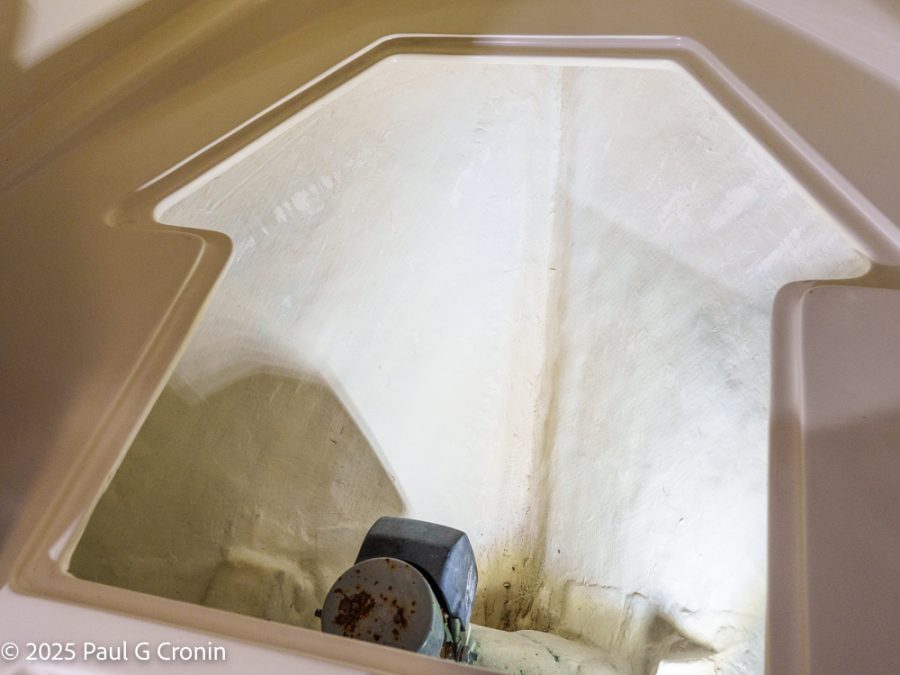
In stock was enough 9mm Bruynzeel plywood to build the tank. I designed the tank so it would fit easily in the access port opening at forward end of the vee-berth, could be built on the bench, and go in and out with easy.
This did mean I needed to build a platform to support the tank, and a brace system to lock in the tank. The hose run to the head is short, and the vent easily goes into the anchor locker.
Building a mockup of the tank, I used corrugated cardboard that is similar thickness to the 9mm plywood. Cutting the cardboard on the proper angle so each side fits flush. This is fast and easy to adjust as I refined the fit, and shape.
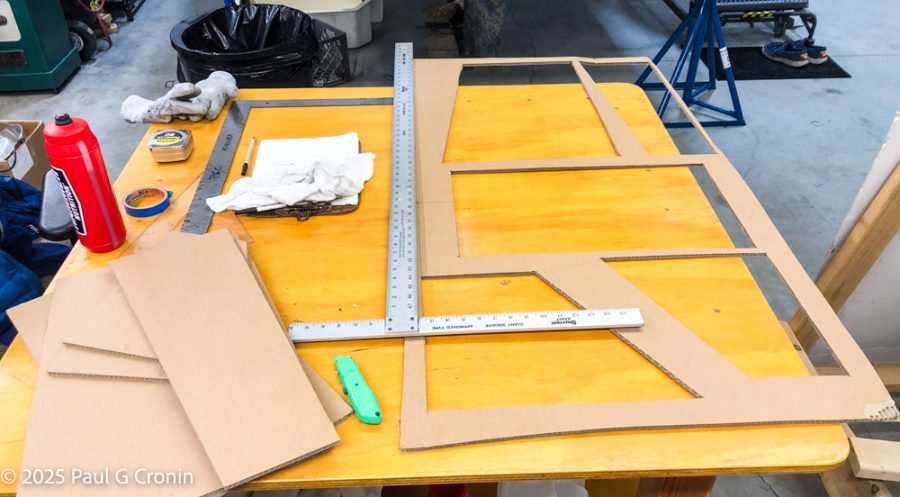
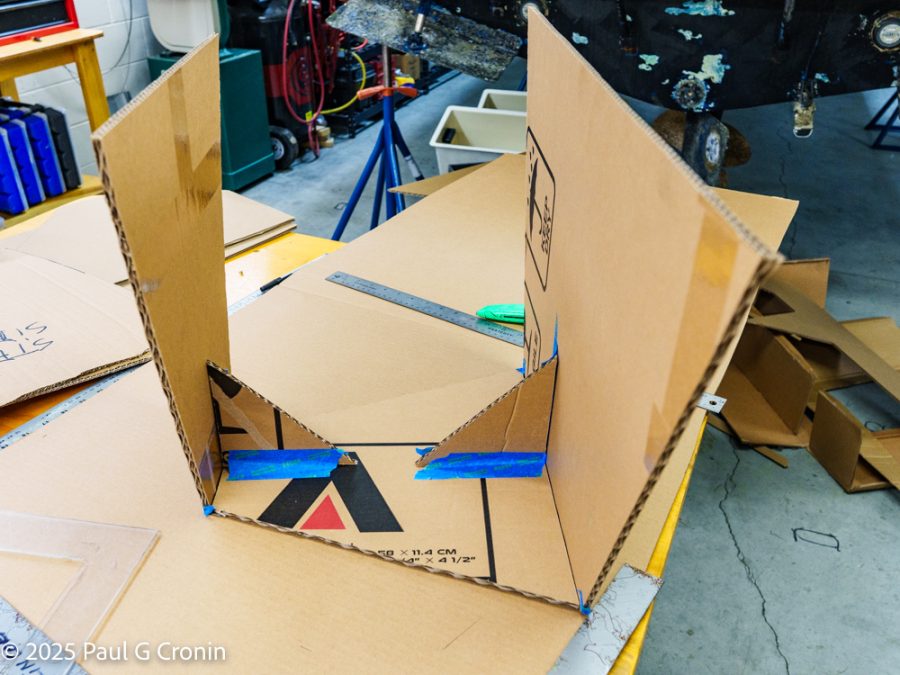
Once I had the mockup to the size I liked, I calculated the volume at 18.5 gallons.
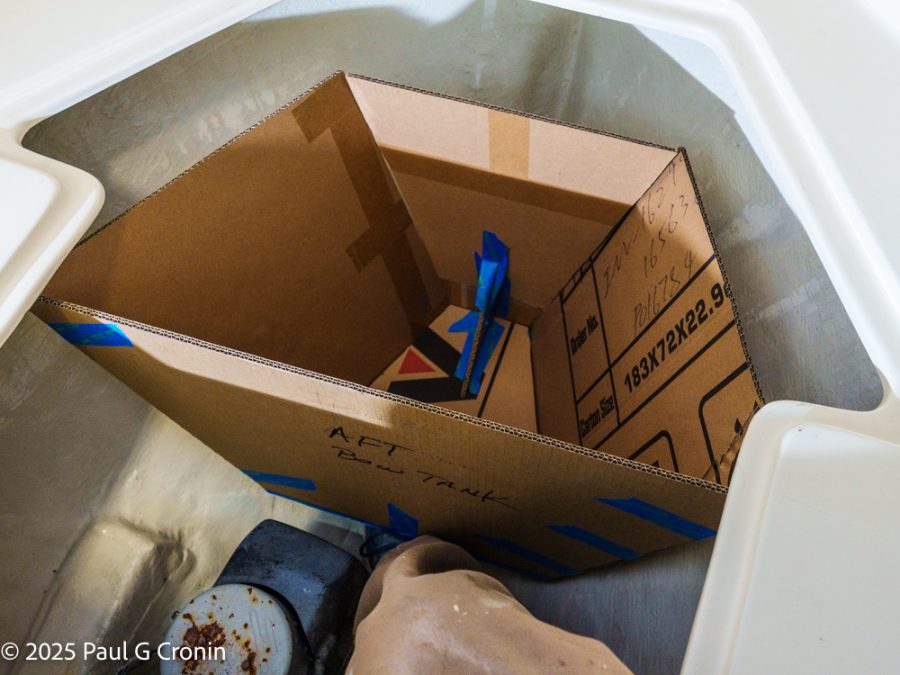
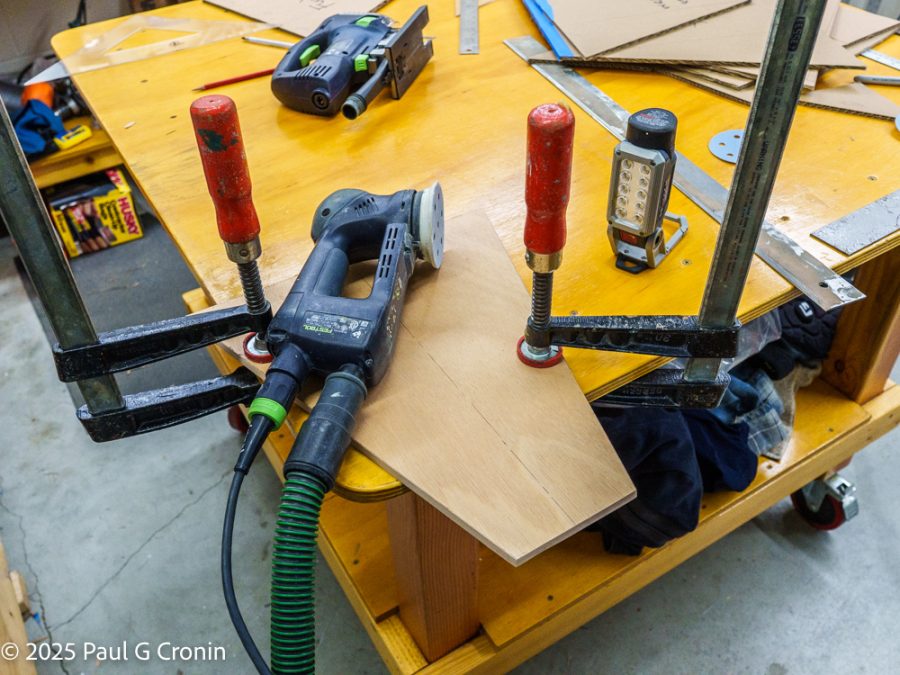
Cutting the plywood I used the cardboard as a template. Setting up the same overlaps, and angles so the fit was good right from the cut.
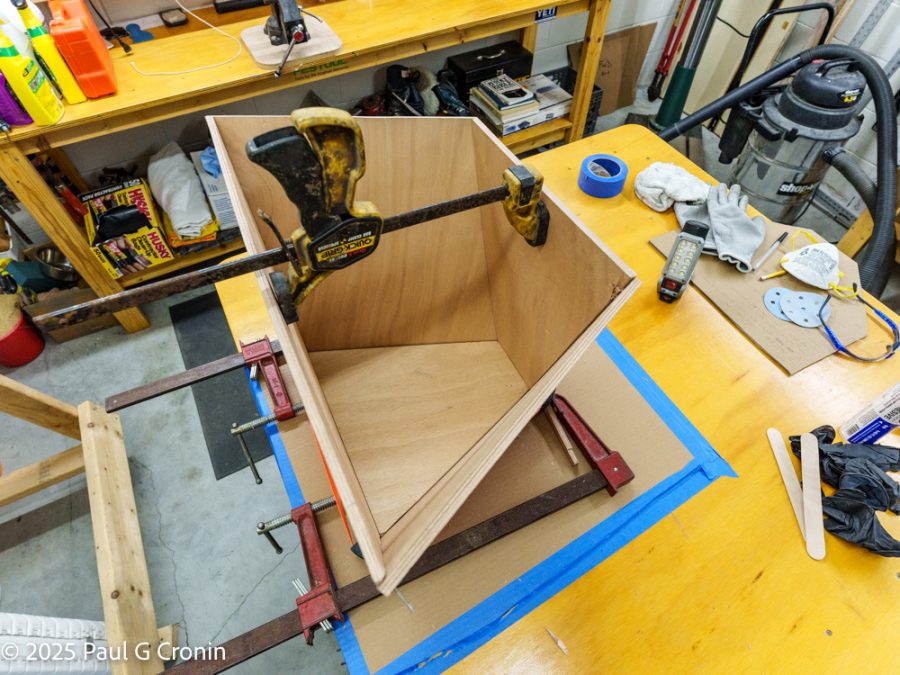
Using a strap clamp, clamps, couple of finish nails, some duct tape to hold it together. Then the tank was ready for West System Six10 epoxy fillets on the inside to bond the sides together. I let this dry for a few days as I did other jobs then pulled the clamps, nails, tape.
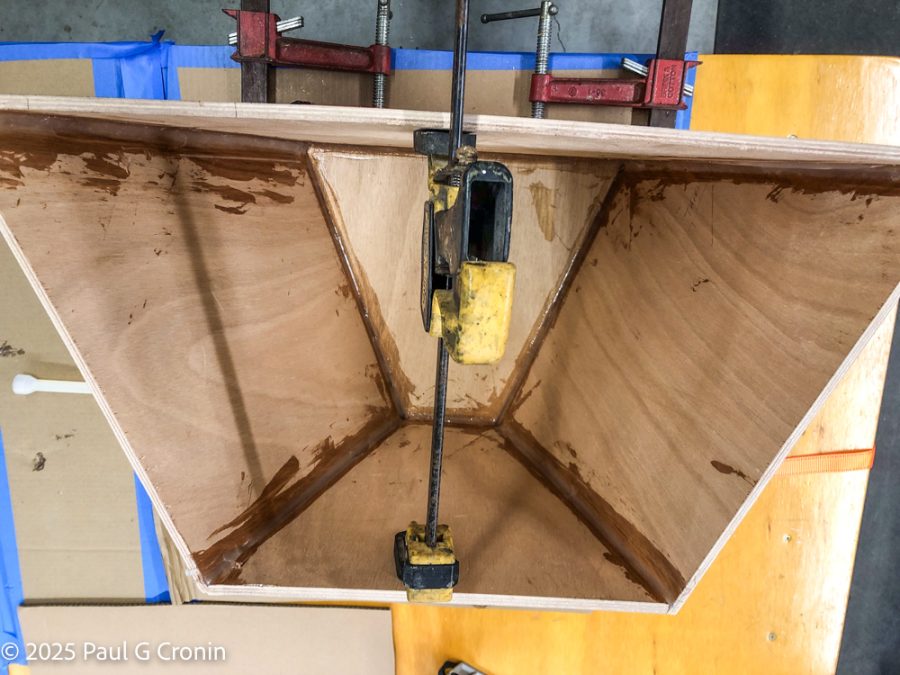
Before coating the inside with epoxy I removed the amine blush on the fillets. Sanded the inside to 120 grit and epoxied West System 105, on the inside.
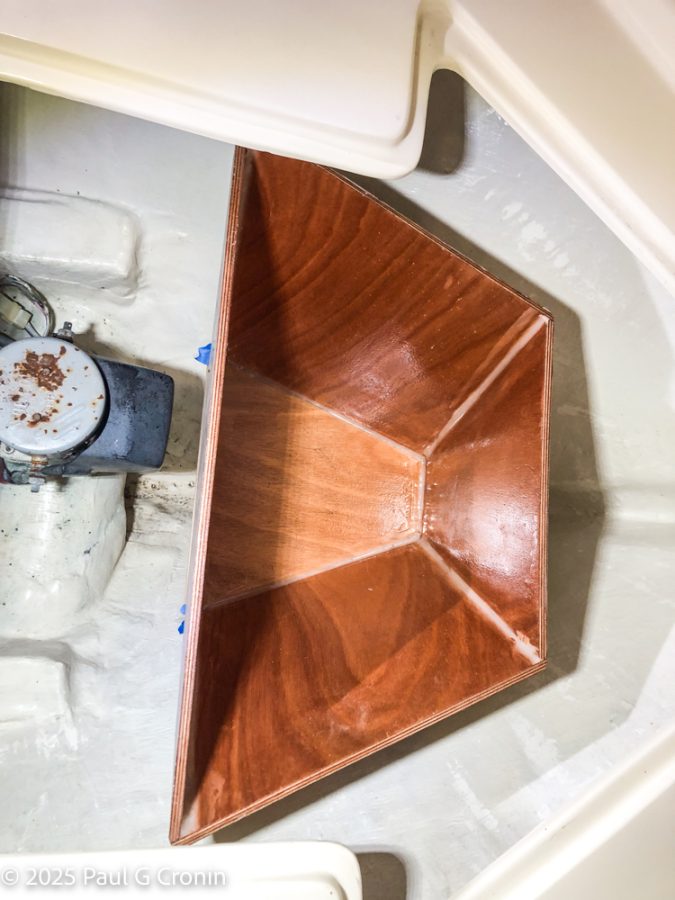
The exterior was sanded at the edges to put a radius, and smooth out the surface for 6oz glass with overlaps at all edges. Peel ply was put over all the glass and smoothed out. I cut the glass, and peel ply from the cardboard mockup, adding room for overlaps.
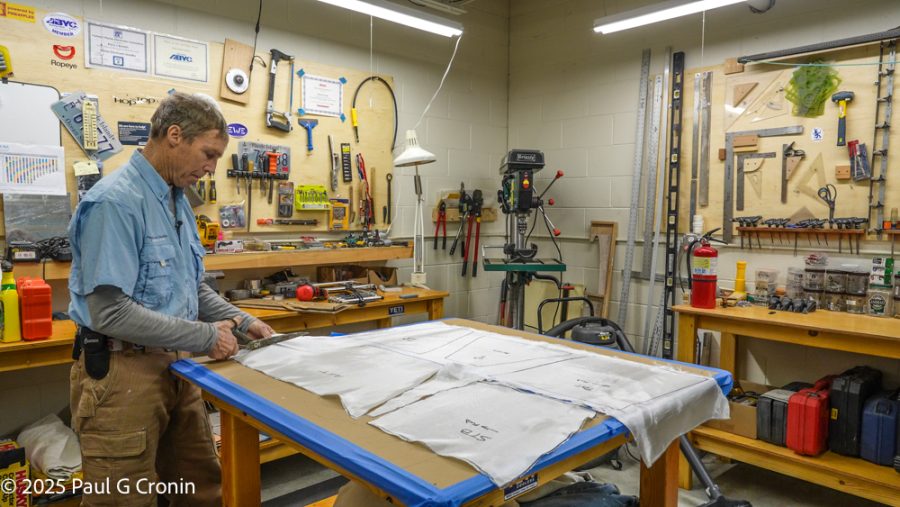
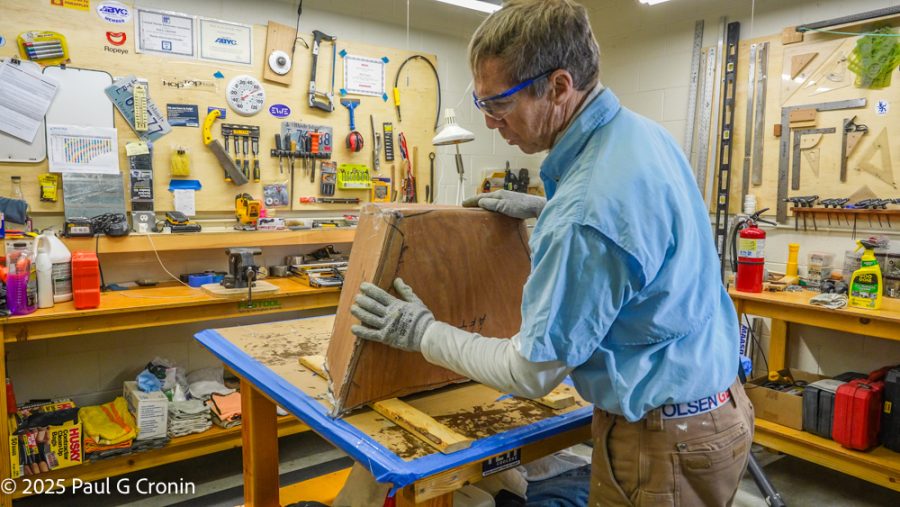
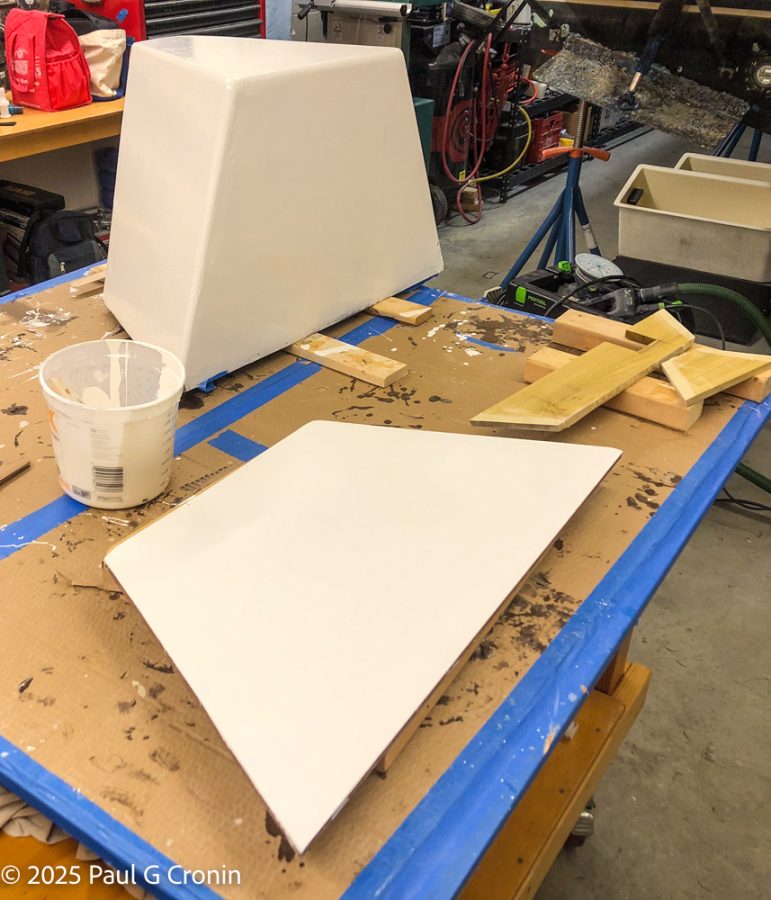
While all of this was drying I made the platform for the tank to sit on. Screwed and bonded a tapered edge piece of wood for extra bond surface to the hull. Two coats of epoxy and this was ready.
For paint I used topside paint I had in the shop with primer. The interior I had to remove the amine blush from the epoxy coat, but not where the peel ply was pulled off the glass. Sanded to 180 grit, and applied primer, and two coats of topside paint on the inside and out.
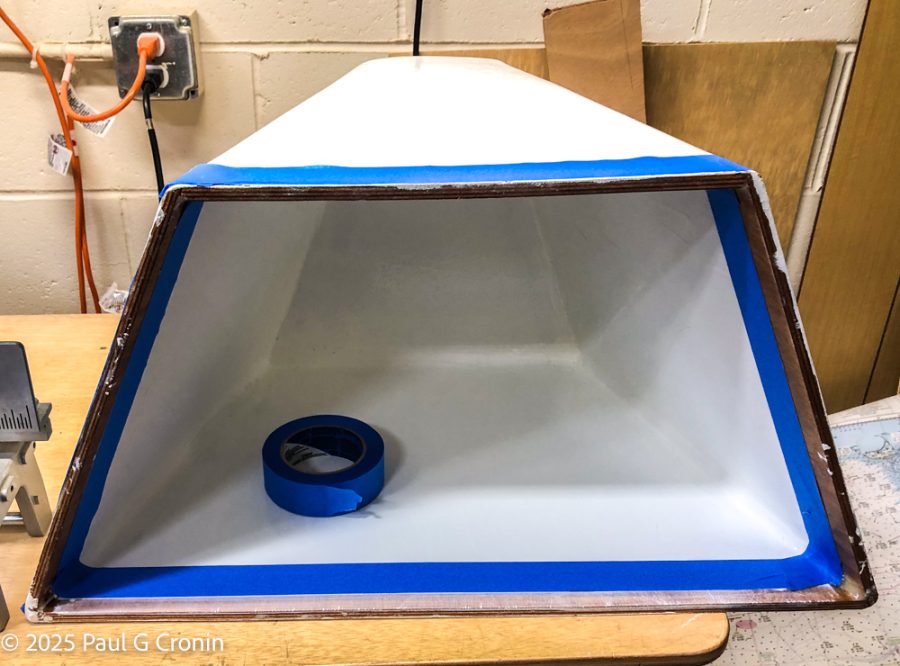
Now it was ready for dry fit making sure the base would be bonded in the right spot. And making the end braces to the right shape. The aft brace has a notch for the water pick up. Once the location was marked, I bonded the base. Let that cure over night, then bonded the end braces for a tight fit. The base is level side to side while angled aft five degrees so the pick up can get most of the water out of the tank.
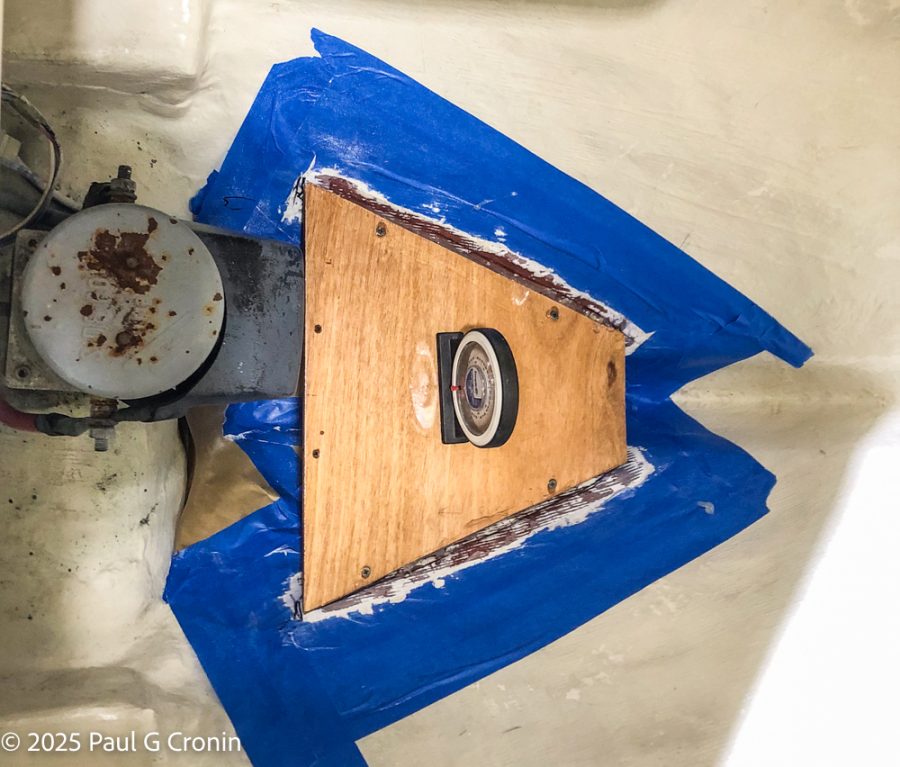
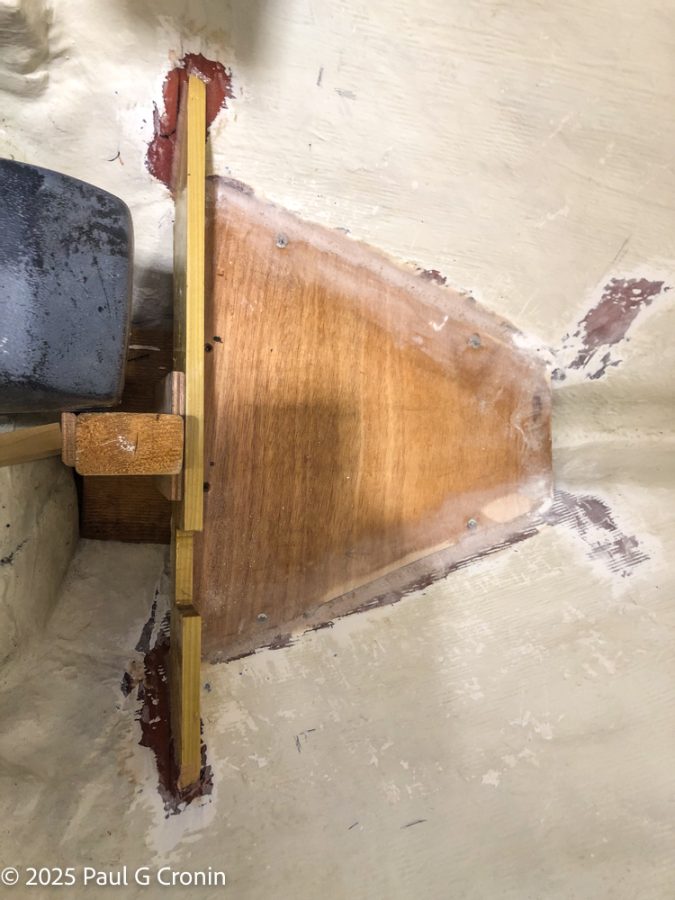
While waiting for these to cure I ran the hose with check valve at head to the tank area. Hanging the hose every 15” with Weld Mount, wire tie mounts. Ran the vent up and out of the vee-berth area to the anchor locker, and installed the vent.
The top was built with a cutout for an 8” inspection port, for filling and cleaning. Along with drilling the vent hole. All drilled out holes were sealed in epoxy. Inspection port and through tank fittings were sealed with Boat Life sealant.
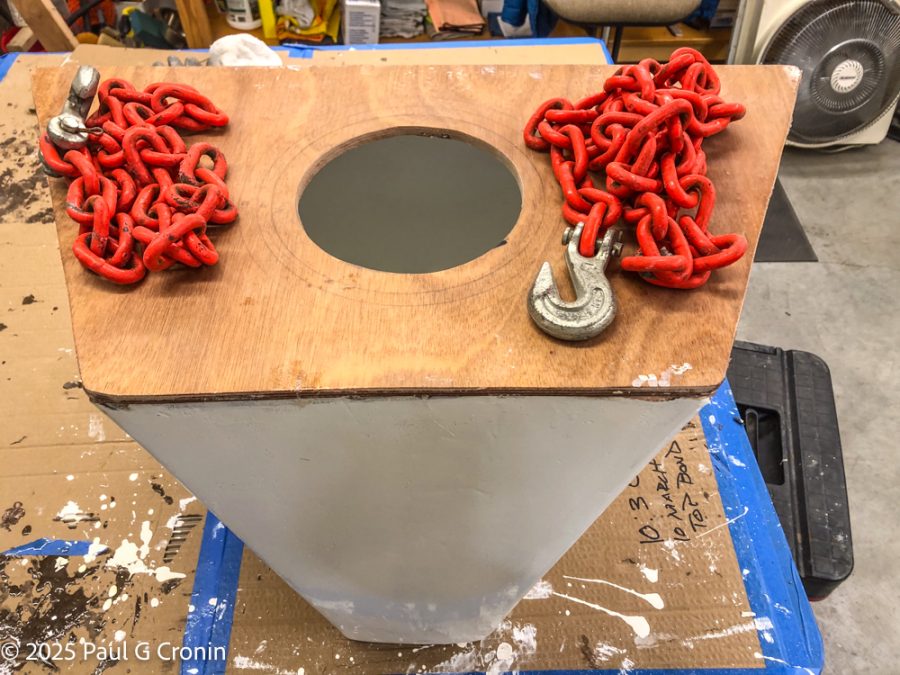
The tank top was bonded on the outside, and fillets on the inside. I kept the top of the tank epoxy on the outside, inside is painted.
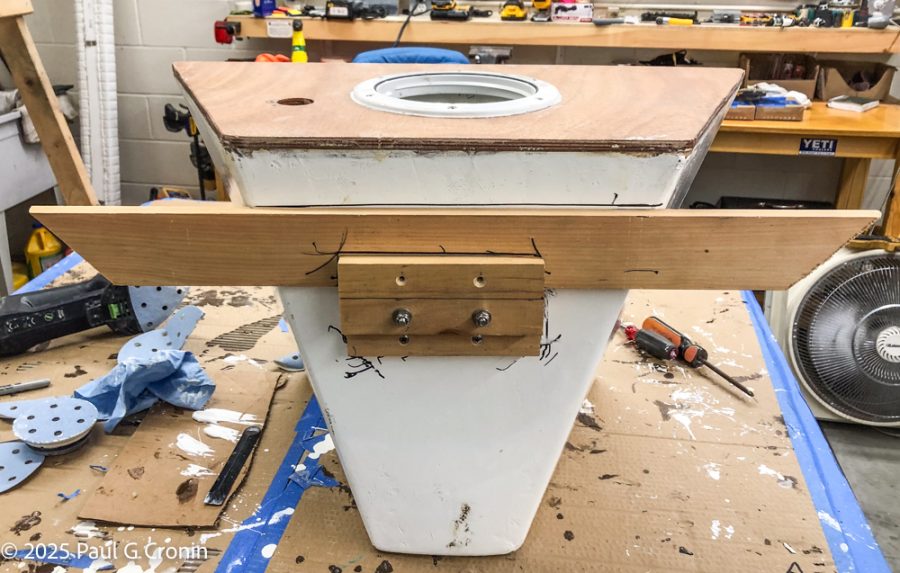
Last item was the cross brace on the tank forward edge so the tank would not move. The tank has not moved at all in a few hundred miles with some rough conditions. It is a nice tight fit.
This cross brace mount base is bolted to the tank, then two screws secure the long cross section to sit on the hull. To remove the tank I take out the two screws, that do not go into the tank but into the mount, take off vent, pickup off, and tank comes right out.
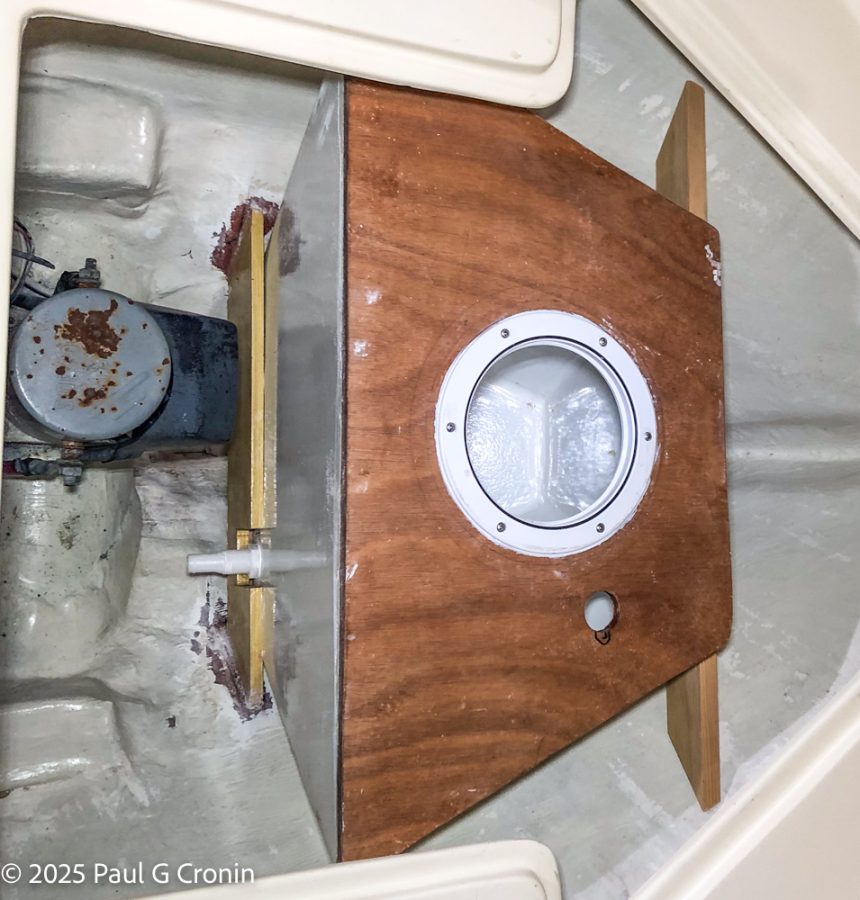
The tank will be removed this winter for more finish work, checking for wear, and doing any adjustments I see fit.
It has been very nice this season having a dedicated 18.5 gallons for the head, and easy to add more water as needed. This gives us all the water we need for a week plus on Felix. Another tweak making Felix our great wing foiling travel platform.
Have fun, and see you soon, Paul

